Showing posts with label Renovation. Show all posts

11.06.2010

Take It EZ . . . Leave It Level

Installing your own cabinets can be a challenge if you level the traditional way with shims and do not have a laser level.  It would also really suck if you didn't have someone who had some clue what to do.  Luckily we had such a person in a one Papa Dish who happens to own a laser level and who also brought us the most wonderful invention since the bucket or the hyde scraper . . . EZ levelers.  

The EZ Leveling system is something I had never heard of that Papa Dish found randomly on the magical world of the internet.  It is truly amazing!  I will never put another cabinet in without them.  Especially in an old haus with uneven flooring.  The extra beauty of the system is you never see any evidence of it once the cabinets are in place and the toe kick is on.  Genius!  {gotta love a contractor that actually cares about the finished look}  Way more expensive than shims, but totally worth it as they literally saved our kitchen.  More about that later.  I'll leave the explanation to the experts on the website.  They do a much better job at explaining how these little guys work then I ever could.

The other amazing-wonderful-love them forever thing the same people have done is put how-to videos on YouTube.  After watching them, I swear anyone could put in cabinets.  I'm proof.

Tip #1: You will want a tripod to place that lovely self-leveling laser on. 


When you install cabinets you begin at the top with the upper cabinets then work your way down to the lowers.  This is so the lowers aren't in your way for the upper cabinets.  Makes sense.  No matter if you are doing uppers or lowers, you start in the corner {if you have one}  In our case we didn't have upper cabinets over our lower cabinets so our order didn't matter. 
Before all this though, you want to find the lowest part of your floor {our back corner}.  Following the YouTube instructions, use the laser to mark the line you will level your cabinets to.  You would want to follow this step if you are using shims as well.  At the same time, you want to mark where your studs are.  You would think, considering the fact that we had just seen them too long ago, we would know where our studs were, but not so much.  Our haus' studs where mostly 18" OC, but not always.  Our trick {because the stud finder sucked} a tiny little picture frame nail.  Tapping it in to see where your studs are is cheaper than a stud finder anyway {if you do it below your level line, no one will ever see the holes you put all over your new walls}  Next, if you are doing it our way you need to put the EZ Levels in the base of your cabinets.   

Tip #2:  The screws that come with the system to attach the levelers to your base cabinets are a wee bit short.  Some of our levelers came off while adjusting their height.  Not cool and unnecessarily stressful.  Unless they've changed this since we ordered our set, replace the screws with longer guys and save yourself some heartache.  
Steve drilling the holes for the EZ Levels
Placing said EZ Level
You will also want to use a stain marker, that matches your wood most closely, on the edges of your cabinets.  All wood shrinks and expands, and whether or not the cabinets ever do shrink you would see a nice white line where they meet without doing this.  Plus, you're going to want a marker anyway to fix the occasional nick and scratch that all kitchens acquire.
Now you'll want to put your cabinets in place.  With the system we used, you connect the cabinets together first {just in the front!}, then place them against the wall, then level them to your laser line.  I don't know how it works with shims, look that up on some other blog.  :P  Once your cabinets are level, you can completely connect the cabinets together using shims.  You can also shim them in the back following the line you marked at the stud and screw them into the wall.  Again, this is all explained more clearly on the videos.    

Tip #3: This is on the videos as well, but when you screw the front of your cabinets together, do this right above or below the screw where the hinge attaches.  This way, they are hidden once the doors are on.  Seriously, I love this guy!
Unfortunately we didn't take any photos of us installing the pantry section.  This was probably the most difficult to do as far as phasing goes.  We have a panel that encloses our refrigerator, upper cabinets above the fridge, a pantry beside that, and a little low cabinet between the fridge and the window.  All of these things needed to fit just so, so we didn't have any gaps.  We started with the low cabinet because this was in the corner.  Then we put the panel up temporarily to mark where the uppers began.  After the upper cabinets were installed we put in the pantry.  The line on the wall next to the pantry is where trim around a door will go.  Yay!  Everything fits!    
Well . . . almost everything.  Do you see the fan where a cabinet should be in the picture above?  Yup, that cabinet didn't fit.  We made one of the easiest and dumbest mistakes you can when ordering our casework.  {I blame the Menard's guy} We didn't leave any space for a filler panel against the wall.  No walls are ever perfectly square.  I don't care if you have a new haus.  They aren't.  Luckily we were not too far off from making it work so we were able to plane both sides of the cabinet and the one next to it down rather than ordering new. When I say "we" I mean Kevin with ShadowBrook came and planed down our cabinets.  Kevin also cut down our enclosing panel to be flush with the face of the upper cabinets.  Kevin is very talented, but good luck trying to get him.  He owns a farm and a creamery.  He's a busy guy.
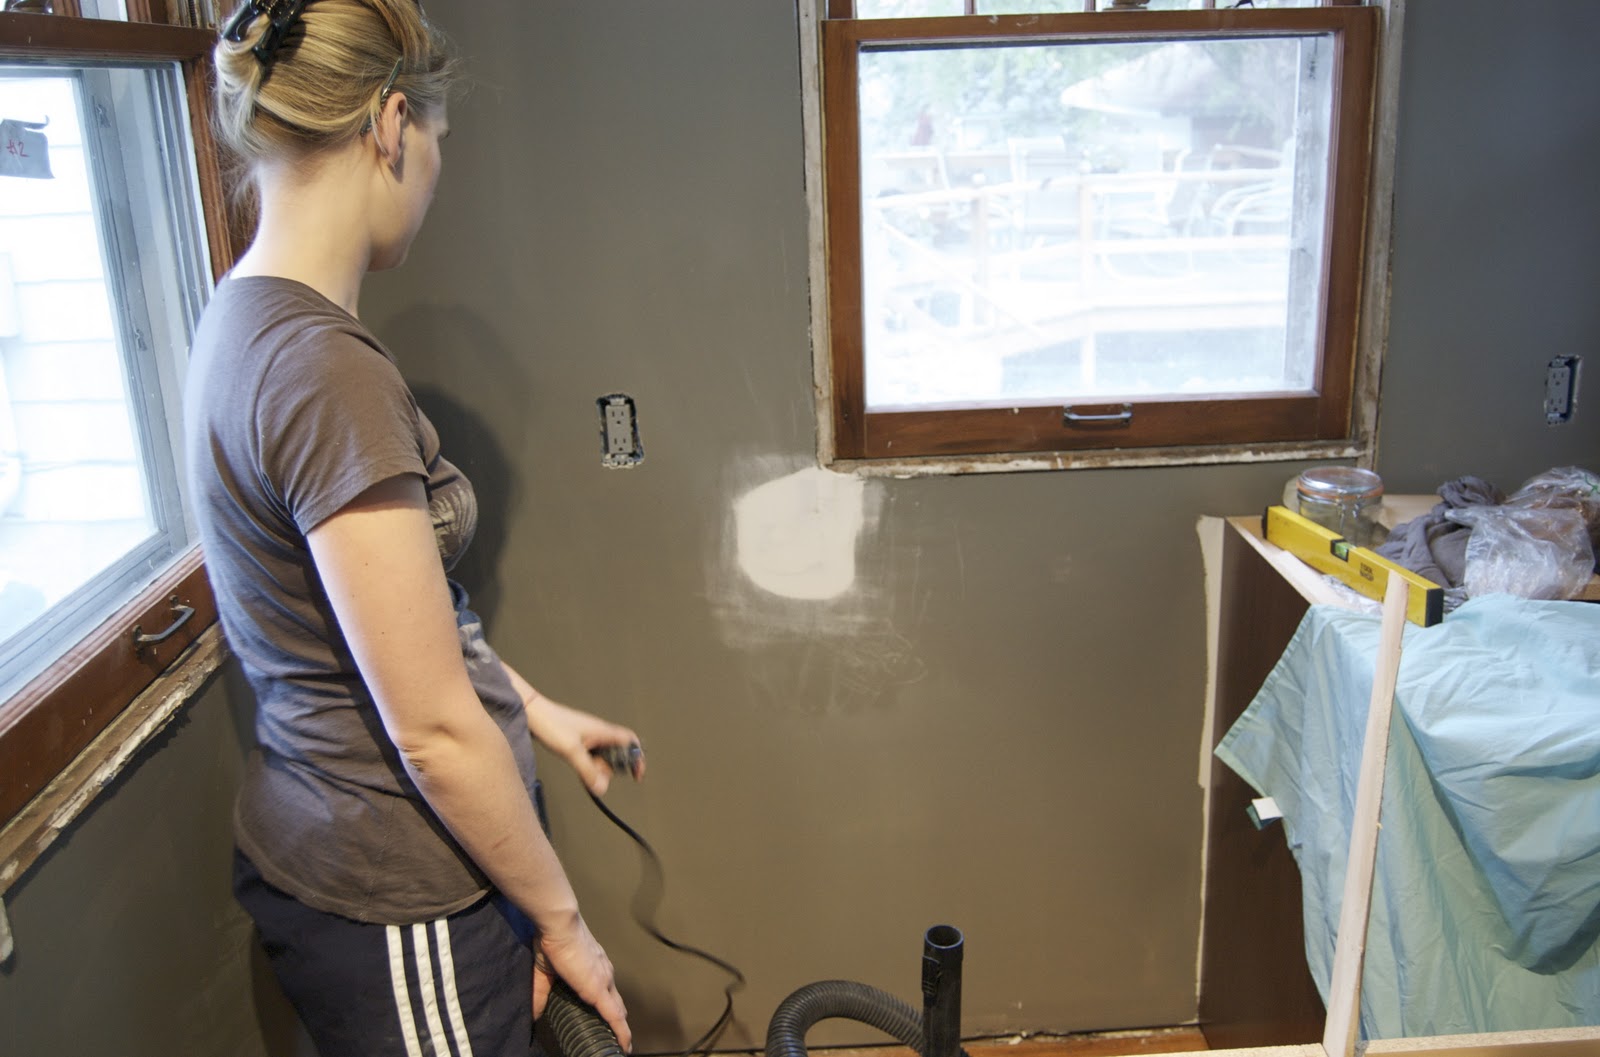
Oh, yeah, I almost forgot.  After all that, the cabinet still wasn't flush to the face of the corner cabinet when we put it in place.  The reason, we discovered, was a nice little bump on the wall.  We're not sure what happened here, if the mudder was a little over zealous, but we ended up sanding the wall down to the tape.  Then after cussing and banging on the cabinet to make it go in {clamp it!  clamp it!"} all was in place, flush and lovely. {PS: even after this, I still love Dallman Drywall}

This major mistake of ours was a complete pain in the tukhus but not having any filler strips makes our cabinets look like they were custom built for our kitchen.  Although I absolutely love this, its not a mistake I would make again hoping it would turn out as well the second time around. 

11.04.2010

Be Nice To Your Mudder

There are some things you just shouldn't do yourself. Like your own dental work.  Or giving yourself a tattoo. For me, drywall is one of those things. I wouldn't really have a clue what I'm doing and it's way too easy to do a really bad job. We know our limits or are slowly learning them here at the haus, so we called in the experts for this part of construction. The crew we hired was not the least expensive, but they were fast, professional, tidy, and truly skilled craftsman. 

The way Dallman works, as well as most other installers, is in separate crews that specialize in one phase of the work.  The first crew the "rockers" measure, cut and hang the raw gypsum board. This is {in my mind} the only part someone with no experience could probably handle. Although it's like weight lifting, don't do it alone because you're just not that strong. Gyp. is heavy and requires at least one extra buddy, more likely two. This is not to say hiring this part out wasn't worth it. A good rocker is quick, yet precise, making it easier for the "mudder" to do his/her job. Our crew of five were done with the entire kitchen in about 45min. This would have taken us at least a full weekend plus the work of conning someone to be our extra special buddy.
rocking in the not so free world

The next crew the "mudders" come in next and well . . . mud. They cover all screw holes, make seams disappear and corners actually square. This is the part that seems to require the most talent and the area that determines a good drywall job from a bad one. Mudding our kitchen was a two, half-day job for a crew of two guys.  This is the part worth paying for and I cannot sing their praises enough.  We had this very bizarre {yet for some reason not unusual condition} in our haus where a previous owner decided to put in a new gyp ceiling . . . over the plaster.  WHY!?!  

Time out for Rants in the Pants:  The thing that drives me most crazy about our haus is the fact that previous owners didn't take the time to do things right the first time.  I'm all for home renovation {obviously} and for doing it yourself if you can.  But if you don't know what you're doing, or you're going to be lazy about it, just buy new construction and save the rest of us a lot of heartache.  Please.    

When we took down the plaster on the walls we were left with a 1 1/2" gap where the ceiling hung lower than the walls.  This is hard to explain, so hopefully you can see it in the pictures.  We were certain that we were going to need crown molding to hide this, but our mudders came to the rescue and made the seams absolutely perfect!  Seriously, have I said that I love them yet?  Because I love them!  :)  

mudded and sanded

Next the "sanders" came and smoothed it all out. The highest level of finish in drywall work is a 5.  I didn't specify this in our contract, but I'm pretty sure that's what we got, or pretty close to it. Our walls were so well done that it was well worth the cost.  

Nothing goes perfectly though, and there are a few things people converting from plaster to gyp need to know:

1}  Plaster is thicker than gyp.  This means 
        a.  Your window and door casings will be an issue.  They will stick
        out farther than the drywall now.  This means putting trim on will
        be a bit of an issue later.  This is something we are still trying to
        figure out how to deal with so I will take any suggestions you have.  
        b.  You may need some new flooring around the perimeter because
        your baseboard will no longer be where it was.

2}  1/2" gyp is standard on exterior walls.  You should be using this if you are DIYing it and you should plan locations of your electrical boxes accordingly.  Meaning do not nail them the standard 1/4" out from the face of the stud, but 1/2" so that your new walls will be flush with the boxes.  
*FYI: add an extra 1/8" or so to this if you are putting tile on that brand-spanking new wall of yours.  Otherwise you'll have to be like us and buy box-extenders, and washers, and all kinds of bits and bobs that make your outlets actually accessible.

3} Bring the sheet back out.  You do remember tip number #2 from this post don't you?  Of course you do!

primed time

6.19.2010

Keeping It Cosy At The Midnight Block Party

We have a 90 year old haus.  I was not surprised to discover it had zero insulation.  If I could have, I would have bought this stuff to insulate with.  As we would have had to go through a distributor in Iowa, husband thought it would take too long and be too expensive {probably}.  We didn't want the blow-in stuff, so we compromised and got this instead.  I insisted that it be formaldehyde-free, no FEMA-trailer type poisoning is going to happen in my haus.  If you live in our area, you can find what we used at Lowe's and Menard's.  At the time of purchase The Home D. didn't carry it.  

Insulating was incredibly easy.  Unless you are physically unable, never pay someone to do it for you.  If you know how to use a utility knife and a stapler, you know how to insulate.  If you are a perfectionist, instructions can be found on the previous links.  Word of caution though, make sure you know the top from the bottom of your stapler.  Steve had his upside down.  He didn't think anything was coming out, checked it {like a man, facing him} and ended up stapling his stomach.  He's skinny, he doesn't need his stomach stapled.  The poor guy was in pain for days.

Freeze Frame

"Try to have an open mind when you get home"  This was my notorious text sent to my husband after I had torn down a wall {I was not supposed to} while he was at a meeting for work.  You see, it happens quite easily.  Tearing down walls.  You pull a little hear, pry a little there.  About half way through you discover that you can't stop because of the way the previous homeowner had constructed this monstrosity, and lookie there . . . the wall is gone.  Suffice it to say, Steve was not a happy camper when he came home.  After he called in his reinforcements in the form of Papa Dishman and discovered that framing a wall is really not that hard, he got over it.

5.05.2010

Following The Wise Words of Kennny Roggers

I learned the words to "The Gambler" a long time ago, but I never abided them until this weekend.  I officially folded and walked, no strike that, ran away from the kitchen for the first time this last weekend.  After a few wins {getting the electrical done, installing insulation, and framing a wall; see pics here} we started counting our renovation chips before the deal was done.  You see, we forgot the odds are always in the Haus' favor.

4.10.2010

Tearing Down The Walls Of Heartache

Okay, so Patty Smith's lyrics are really "shootin' at the walls of heartache", but we would never be so violent in our haus. Nevertheless, we've definitely been warriors of the DIY sort over the past few weekends. This story of demolition started months ago with taking out the built-in banquette to make room for cupboards and more counter space and has ended with something that doesn't resemble a kitchen in the slightest. {Unless you count the fridge hanging out in a completely random spot in the middle of the room or the Flair that is about to be taken out of it's 40 year home in a few short hours.} Demo is pretty straight forward but we can all use some good tips so here are a few pointers to making it run more smoothly.

1} Be Prepared:
Not only do you need to be physically prepared but mentally prepared for what is about to happen to your once lovely home. The mental part is a lot harder to achieve and we certainly didn't get there, so I'll focus on the physical.

2.28.2010

Uppers Schmuppers or Our New Kitchen Layout

No matter where the party starts, it always ends up in the kitchen. Somehow after all these years of people going to McDonald's, it's still the heart of the home. Kitchens are where memories are made learning your grandmother's favorite recipes {or in my case, my husband's}. It's where we cut flowers, feed pets and mix drinks. But most importantly it is where we reconnect. It's where we tell each other about our day and where company migrates to. Because so many activities happen here, special attention needs to be given to how it will actually work.

1.30.2010

Budget Jones' Diary

In our short six months as homeowners husband and I have done some updating to our 90 year old haus such as installing a closet storage system, putting in a new garage door opener, and installing a new ceiling fan. I would say we were in the minor league when it came to home improvement. But all that is about to change. We are moving up to the big leagues people because in 4 short weeks the dreaded kitchen remodel begins.

12.19.2009

"All is Flair in love and war" or "One thing leads to another"


I may like fancy, but I am not a big fan of flair. I am especially not a big fan of The Flair in my kitchen. Yes, folks, that's right. As of August I am the not-so-proud owner of a Frigidaire Flair Electric Range. While the Flair was a marvel in 1960's its not so much our style today. I'm sure the double ovens with DeLorean style doors and space saving built-into-the-wall style range has its benefits. It is just hard to see them when it burns the bottoms of all your cookies and you have a beautiful, new, stainless steel, gas stove just hanging out in your basement begging to be used.

11.07.2009

Knock three times

Replacing a ceiling fan in a new home is a relatively minor task that most people would be able to accomplish in a day. Replacing a ceiling fan in an old home with knob and tube wiring and no structural support for the previous fan, is another story altogether. We knew this was a job we would have to tackle pretty early into our homeownership for three reasons. The original fan was A} not attractive B} not operable and C} kind of falling out of the ceiling. My mom was kind enough to make the new fan our house warming gift and after debating a for few weeks we finally ordered one from Lowe's. We couldn't wait to finally have light in our bedroom so as soon as it arrived Steve got down to business.


Its curtains for you, shower door

Oh, the shower doors. How I hated you. Why would anyone ever install these things? Not only do they force you to clean half of your shower and tub at a time, they build up mold and mildew in the track. The first time I was attempting to clean the bathroom, the left door fell off the track and I barely managed to catch it and stop it from falling into the tub. Naturally I wanted to get rid of these things IMMEDIATELY, but I was wisely informed by the husband we were only doing one room at a time and the kitchen was first. So... I not so patiently waited.


9.14.2009

Closet Compulsion

I have to admit something; I'm addicted to organizing. This is not a new thing. Its an affliction I have lived with since childhood. Examples: My desk at school, perfectly organized. My room I shared with my messy sister, duct tape dividing the room. In the last house I knew where everything was at all times. Clutter is chaos and unlike Maxwell Smart, I do not handle chaos well. Some of you already know this and may call it OCD. But, I can't help the way I am, so I've decided to embrace it.

Project one: The Closet.